This post will save you big bucks if you are a sushi lover like me!
Sushi is one of my favorites! Its usually a special treat because it tends to get pricey...
Fortunately, I learned how to make it myself! Which means I can enjoy sushi as often as I like for a small fraction of the cost AND its surprisingly fast, easy, healthy and the ingredients are easier to find than you think!
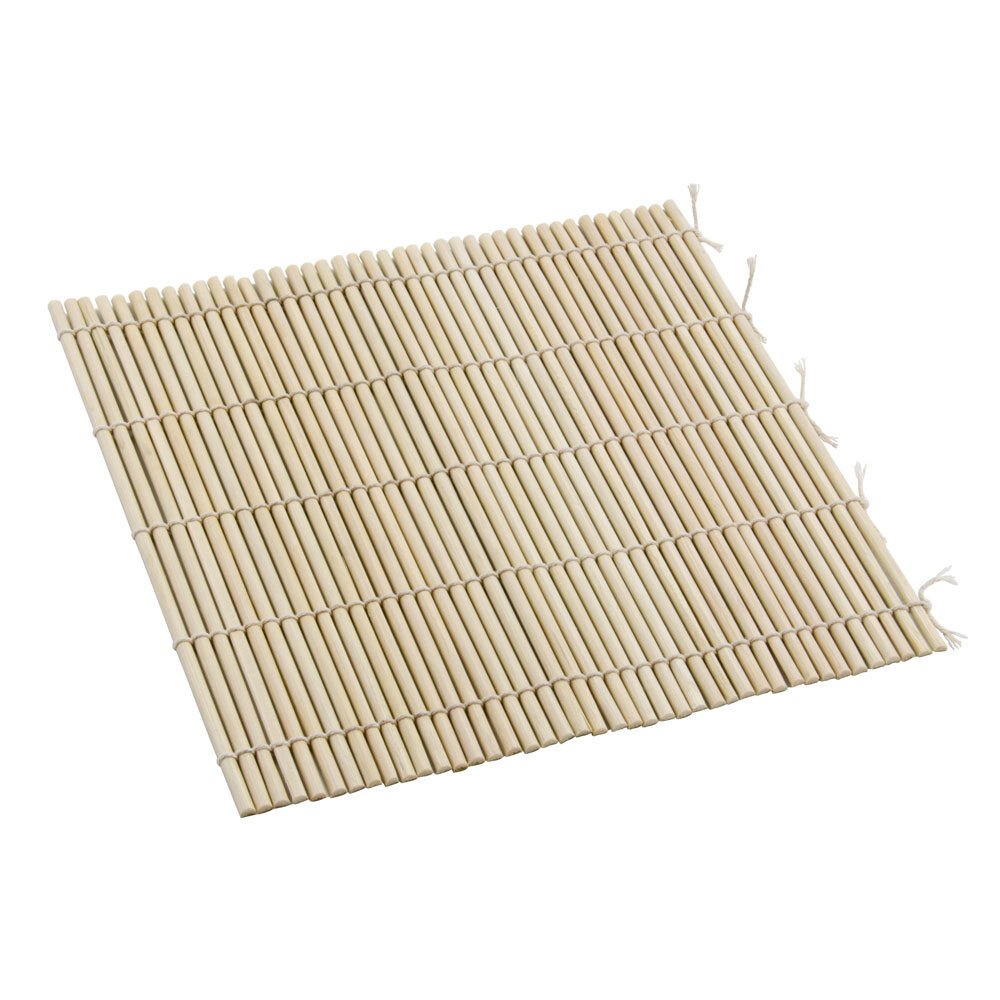
The only thing you might have to invest in is a bamboo, sushi mat like the one above. This one costs about $1.30 on eBay. The ingredients for sushi are likely not already in your pantry but they actually come relatively cheap in the Asian foods section of a regular grocery store although, they may be easier to find in a whole foods store.
you will need:
- Nori, which is an extremely low calorie sheet of dried seaweed ($5-10 for a pack of 10)
- Sticky rice (I used regular white rice)
- Wasabi, soy sauce and pickled ginger- these are for extra flavor and totally optional. I usually use wasabi and pickled ginger, Grant only uses soy sauce, and my sister uses all 3!
you can either buy dry, authentic wasabi which can be kind of expensive- but it will last you a lifetime or you can use horse radish wasabi, which is much cheaper and basically tastes the same...
The fun part is picking out what you want in your sushi!
I often use cucumber, onion, cream cheese and avocado. Occasionally I will throw in something else like left over salmon, shredded carrot or sweet potato! I normally just get creative with whatever veggies I have in my fridge. (I recently saw a sweet potato roll drizzled with honey and sprinkled with sesame seeds and I am eager to give that a try. I will keep you updated).
To make the sushi rolls:
- lay your nori on top of your bamboo mat with the grain of the nori and the mat going horizontally
- cover the nori with a layer of rice. The layer should be thin but should completely cover the nori so none of it is showing. make sure to spread it all the way to the edges, but leave a little bare at the top of the sheet.
- along the bottom of the rice/nori, closest to you, arrange your fillings, horizontally in a narrow line going all the way across, from edge to edge. Make sure there are no gaps in the line and all of the ingredients will be in each cross section.

- from the bottom lift the bamboo mat and roll the nori/rice fillings all the way over. Pause, and apply a little bit of pressure to the roll to make sure it sticks.
- continue rolling, pausing to squeeze the mat, gently but firmly until the sushi is all rolled up.

- unfold the mat from the roll and make sure not too much rice or filling squished out, (and if it did shove it back in, gently)
- carefully cut the roll at every inch (5 cuts) and
Voila! 6 sushi pieces!


Garnish them with a tiny blob of wasabi, a piece of pickled ginger or just dip them in soy sauce and enjoy!
I normally make 3 rolls and split them with Grant. If we are really hungry I serve it with miso soup (from an organic mix that I found at a whole foods store)
They also go great with kale chips! more to come on those babies!
No comments:
Post a Comment